How to Add a Watermark to a PDF for Free (Confidential, Draft & Custom)
You need to mark a document before sharing it. Maybe it's a contract that isn't finalized yet. Maybe it's a financial report that shouldn't leave the department. Maybe it's a proposal going to a client and you want your brand on every page.
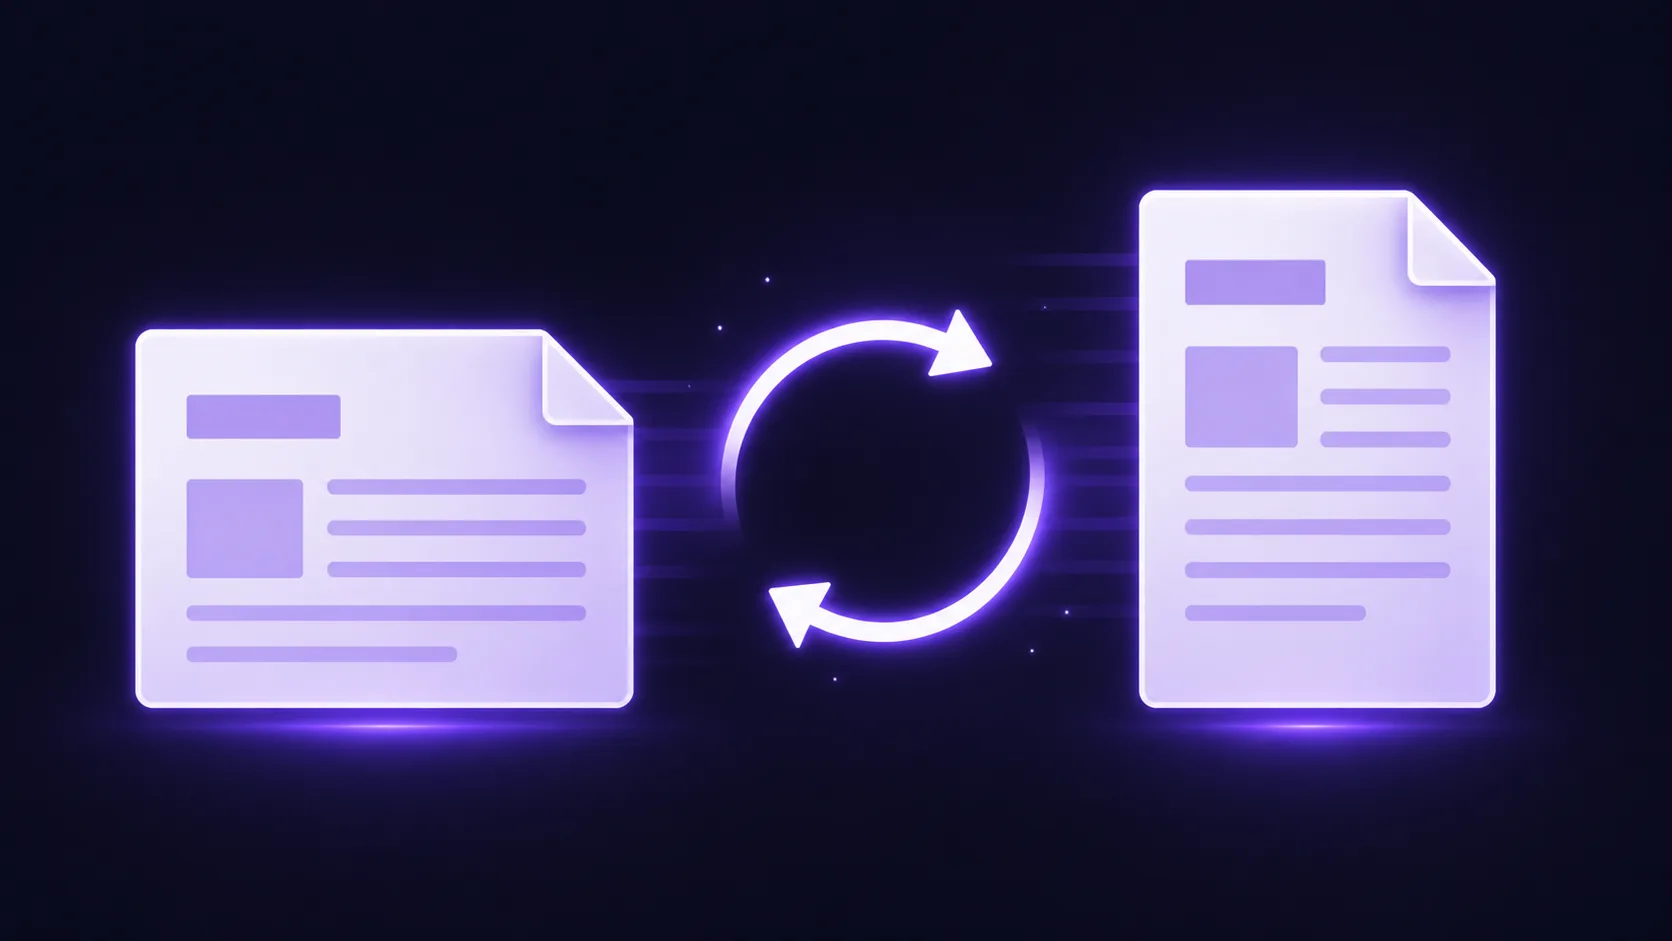
In all these cases, the answer is a watermark — a semi-transparent label stamped across the pages of your PDF. The problem is that most watermark tools either cost money, require software installation, or upload your document to a server.
Here's how to do it for free, in your browser, in under a minute — without your file leaving your device.
Step by Step: Adding a Watermark to Any PDF
-
Open the EdgeDocs Add Watermark tool. Works in Chrome, Safari, Firefox, Edge — any modern browser. Nothing to install.
-
Select your PDF. Drag it in or browse for it. The file loads locally — no upload to any server.
-
Choose text or image.
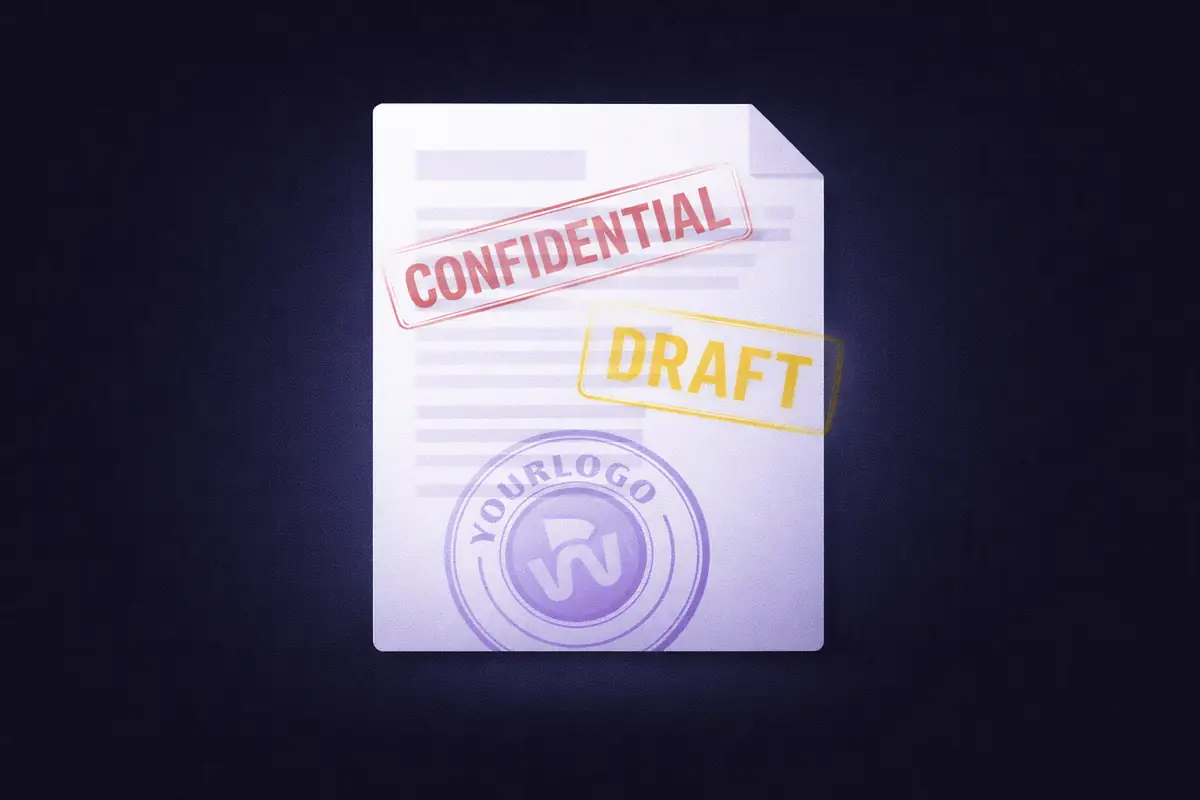
- For text: type your watermark. "Confidential" is the default, but you can type anything — "Draft," "For Review Only," "Do Not Distribute," a date, a name.
- For image: upload a PNG or JPG — your company logo, a custom stamp, an approval seal.
-
Customize the appearance. This is where it gets useful:
- Font size from 12px to 120px
- Any color via color picker or hex code
- Opacity from 5% (barely visible) to 100% (fully opaque)
- Rotation from -180° to 180° — diagonal, horizontal, vertical, any angle
- Position — Center, Top-Left, Top-Right, Bottom-Left, Bottom-Right, or Tile (repeating pattern across the entire page)
-
Check the live preview. The tool shows exactly how the watermark will look on your pages before you apply it. Adjust until it's right.
-
Download. The watermark is applied to every page. Your original file is untouched — you get a new watermarked copy.
The Most Common Watermarks (And When to Use Each)
"Confidential"
The most used watermark in business. Apply it before sharing contracts, financial reports, board materials, client data, or any internal document that shouldn't be forwarded. It doesn't prevent sharing — but it makes the recipient clearly aware that the content is restricted.
Recommended settings: Semi-transparent (30-50% opacity), diagonal rotation (45°), centered, gray or red text. This creates a visible but non-obstructive label that doesn't interfere with reading.
"Draft"
Use this on any document that isn't final — proposals, reports, policies, legal agreements under review. It prevents recipients from acting on incomplete information or circulating an unfinished version as if it's done.
Recommended settings: 30-40% opacity, diagonal, centered. Consider using a different color than "Confidential" (amber or blue) so the two are visually distinct if your team uses both.
"For Review Only"
A step between "Draft" and final. Use this when a document is content-complete but hasn't been formally approved. Common in legal and compliance workflows where documents go through multiple review cycles.
Recommended settings: Similar to Draft — moderate opacity, diagonal or horizontal, centered.
"Do Not Distribute" / "Do Not Copy"
Stronger than "Confidential." Use this on documents with strict distribution controls — executive compensation details, M&A materials, unreleased product information, pre-publication content.
Recommended settings: Higher opacity (40-60%), red text, bold positioning. You want this one to be noticed.
Company Logo / Branding
Upload your logo as an image watermark to brand documents before sending them externally. Useful for proposals, reports, presentations exported as PDF, and client-facing deliverables.
Recommended settings: Low opacity (15-30%) so the logo is visible but doesn't compete with the content. Centered or tiled. Use a PNG with a transparent background for the cleanest result.
Custom Text
Anything goes — a project code, a recipient's name ("Prepared for: [Client Name]"), a date stamp, a department name, a classification level. The text field accepts whatever you type.
Making Your Watermark Permanent
Here's something most watermark guides don't mention: by default, watermarks in many PDF tools are added as a separate layer. Someone with the right PDF editor could potentially select and delete the watermark layer, leaving the original document clean.
If you need the watermark to be truly irremovable, add one extra step: flatten your PDF after watermarking.
Flattening merges all layers — the original content and the watermark — into a single flat image per page. Once flattened, there are no separate layers. The watermark is baked into the page rendering itself and cannot be isolated or removed.
For maximum document security, the workflow is:
Watermark → Flatten → Strip Metadata
This gives you a document that's branded, tamper-resistant, and contains no hidden data.
Text Watermarks vs. Image Watermarks
Text watermarks are best when you need:
- Classification labels (Confidential, Draft, Internal)
- Custom text that needs to be readable at any zoom level
- Quick application without preparing a separate file
- Text that stays crisp regardless of page size or resolution
Image watermarks are best when you need:
- Company branding (logos, seals, stamps)
- Visual elements that aren't easily recreated by someone removing the watermark
- Consistent brand identity across all outgoing documents
EdgeDocs supports both. You can apply a text watermark for classification and an image watermark for branding by running the tool twice — once with text, once with image — on the same document.
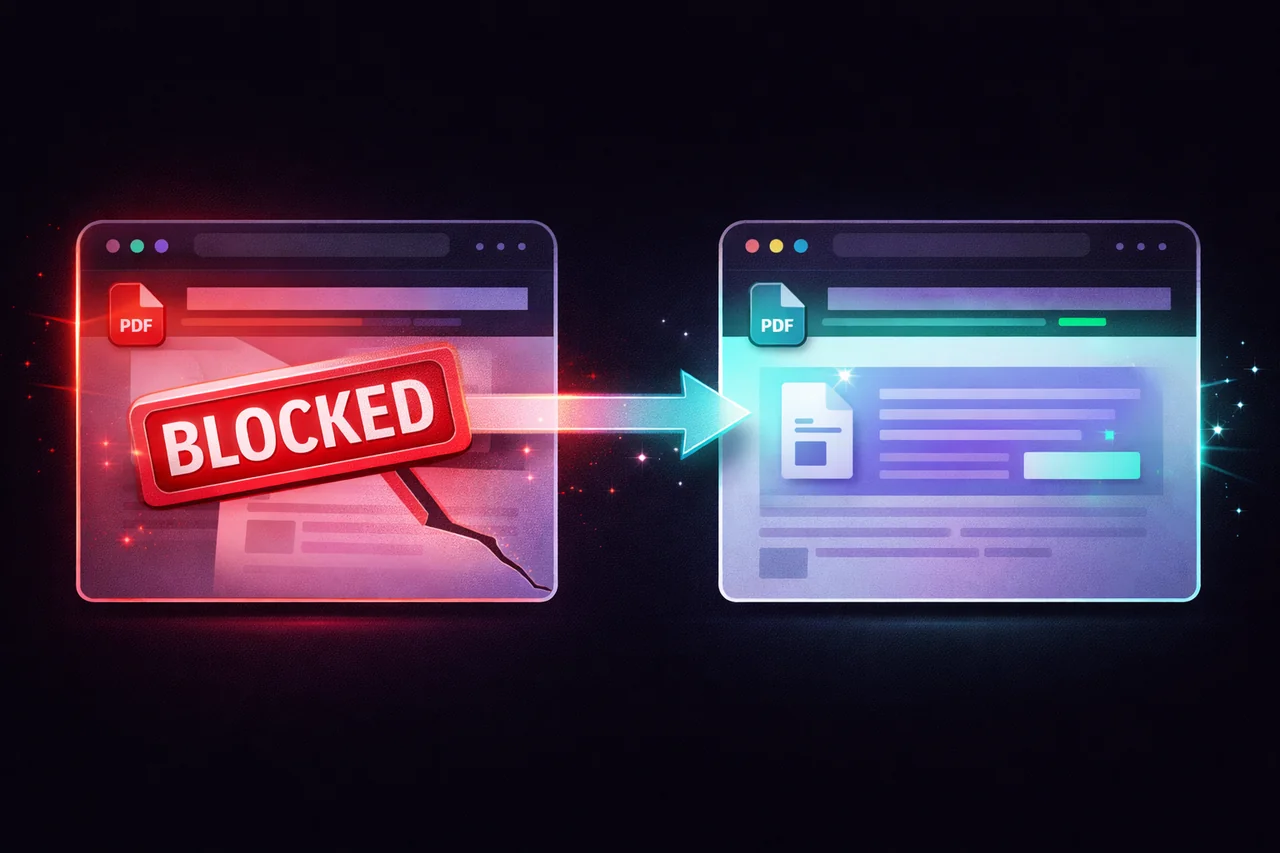
Why Watermark Locally?
Think about what you're watermarking. You're adding "Confidential" to a document because it contains confidential information. You're adding "Draft" because the content isn't ready for public circulation. You're adding your company logo because the material is proprietary.
In every case, the document contains something sensitive. And most online watermark tools — iLovePDF, Smallpdf, PDF24's online version, Sejda — require you to upload that sensitive document to their servers before the watermark is applied.
EdgeDocs processes everything in your browser. Your file never leaves your device. The watermark is applied locally using your device's own processor. There's no upload, no server, no third-party infrastructure involved at any point.
You can verify this: disconnect from the internet after loading the page, and the tool still works. That's because there's no server to communicate with — the entire processing engine runs in your browser.
Quick Settings Guide
| Use Case | Opacity | Rotation | Position | Color |
|---|---|---|---|---|
| Confidential label | 30-50% | 45° diagonal | Center | Gray or Red |
| Draft marker | 30-40% | 45° diagonal | Center | Amber or Blue |
| Company logo | 15-30% | 0° (horizontal) | Center or Tile | N/A (image) |
| Do Not Copy | 40-60% | 45° diagonal | Center | Red |
| Recipient name | 20-30% | 0° (horizontal) | Bottom-Right | Gray |
| Page-wide branding | 10-20% | 0° (horizontal) | Tile | N/A (image) |
The 30-Second Version
Open EdgeDocs Add Watermark. Drop your PDF in. Type your text or upload your logo. Adjust opacity and position with the live preview. Download. Done.
Your file never leaves your device. For a permanent watermark, flatten the PDF afterward. For full sanitization, also strip the metadata.
EdgeDocs is a privacy-first PDF toolkit where all processing happens locally in your browser. Files never leave your device. Try any tool free.
Ready to try secure PDF processing?
20+ privacy-first tools that process files entirely in your browser. No uploads, no servers, no risk.
Try EdgeDocs Free